Email: sales@millerprorepair.com
Phone: 1-724-879-8071

Easy Installation
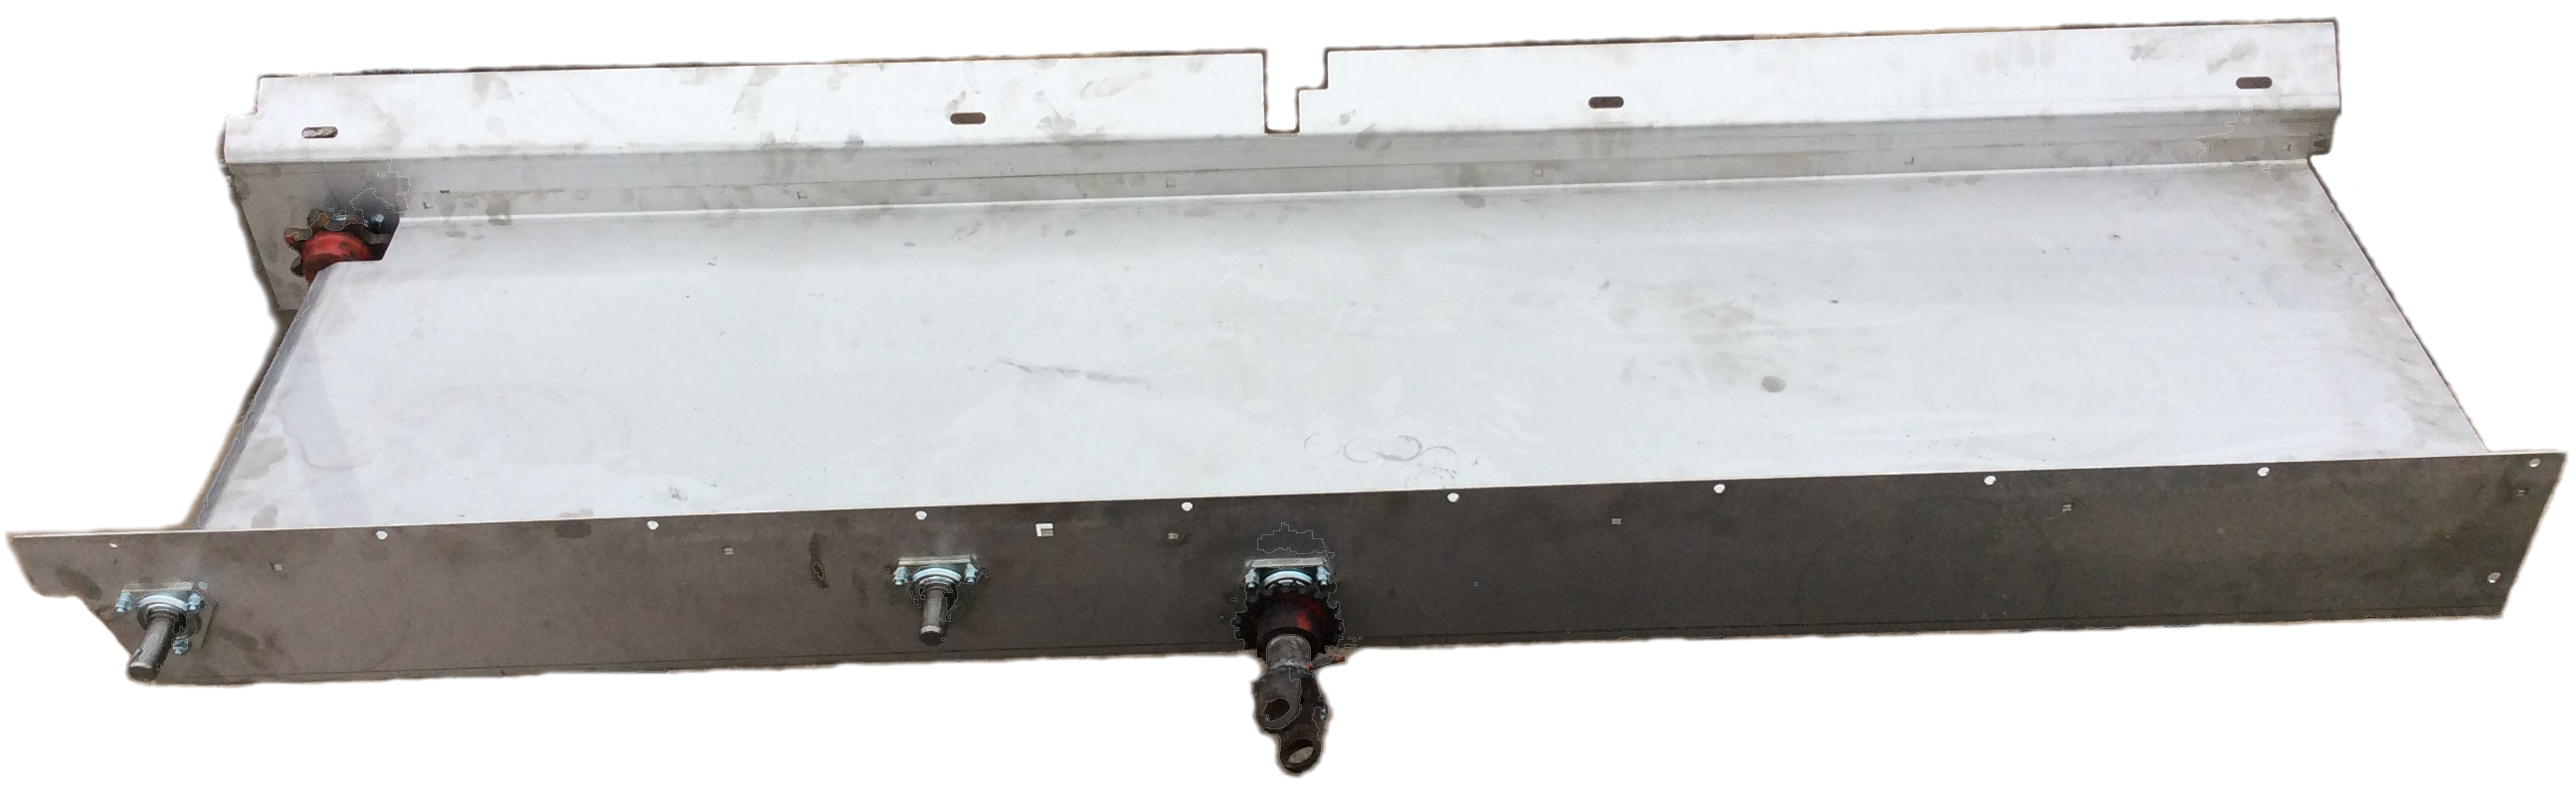
Stainless Steel Bolt On Trough Assembly
Installation Is At Your Own Risk!
Instructions:
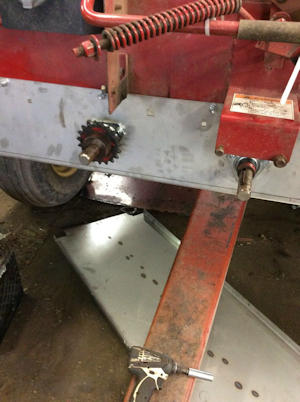
- Initital Preparation Remove shields, chain and lower pulleys from the front of your Miller Pro wagon. Disassemble old bearings, shafts and sprockets.
- Cut To Fit
The basic idea is to remove the lower 7 inches from the front, the inner top pan, and bottom beneath the pan while leaving the rear wall in place that will then be cut and drilled for bolting on the unit and accomodating the new bearing flanges.
How you decide to tackle that job is up to you and of course you do this at your own risk.
There are two options you should consider:
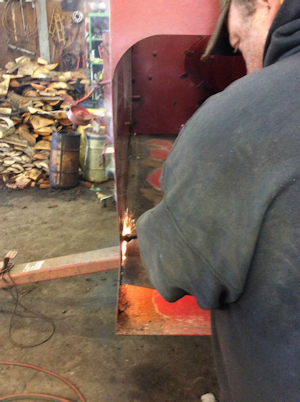
Option A:- Place a straight edge 7 inches from the bottom right front of the wagon extending 88 and 1/2 inches DO NOT CUT LEFT CORNER!
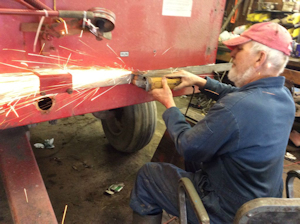
- Cut along the line with an angle grinder
- From inside - Starting at the right open end, cut out the pan and lower base in sections until you make it all the way to the left edge. You are only cutting off the shelf and base at the rear edge.
Option B:- Place a straight edge 7 inches from the bottom right front of the wagon extending 88 and 1/2 inches
- It must be marked first but DO NOT Cut This Yet. Leaving it in place provides some integrity while you move to the next step.
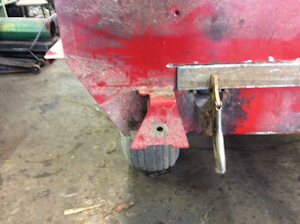
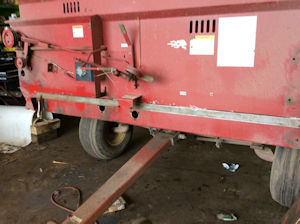
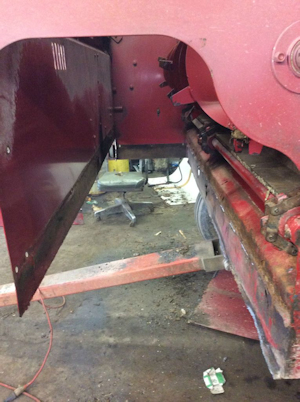
- From underneath of the wagon, cut the base from the bottom of the rear section that sits in front of the tires, where the old bearings and shafts were mounted. Be careful because this is one of the most common areas that get rusted out and damaged and why you are probably doing this repair.
- Cut out the lower base on the left side.
- Cut out the lower base from the front. While you will later cut at that line you previously marked you need to get the lower section off in order to tackle the top pan next.
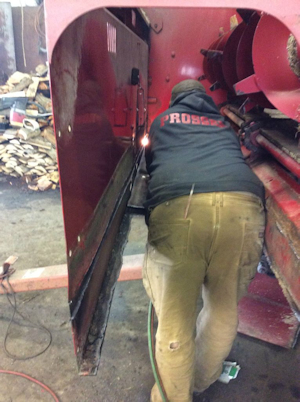
- Cut out the inner top pan from the bottom.
- NOW you can cut that line you made on the front of the wagon. DO NOT CUT LEFT CORNER!
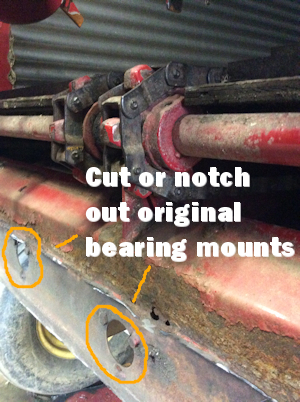
- Cut Out Original 3 Rear Bearing Flange Mounts & Shaft Holes from rear - The new bearings and flanges connect directly to the new assembly and not the rear where the new assembly sits. You want to cut out or notch out the old flange locations. You can line up the new flange with the old holes for a more precise cut or just cut around the original openings about a half inch larger to accomodate the new bearing flanges.
- Mounting
* You will want a helper for this!
- Position the assembly (A) in place so it rests on the rear and then bolt the front portion of the assembly to the front of the wagon. Make sure it is stable, someone will need to climb inside!
- Climb inside and mark/drill rear bolt holes for the top pan on the old existing rear section.
- Make sure the new bearings and flanges connected to the assembly will fit through the openings you made in the rear.
- Bolt On the New Assembly (A), tighten down the bolts.
- Assemble Install the shafts, sprockets, bearings and flanges. We recommend beginning with the left shaft (E) through the opening on the left side. Then you can climb inside to facilitate the installation of the center shaft (F) and right PTO shaft (G)
- Top Pan - Bolt on Stainless Steet top pan (B)
- End Cap Bolt on the left rounded endcap (C) to the new assembly base and side of your Miller Pro wagon.
- Install new side discharge shaft and bearings.
- Re-assemble everything you removed in the first step. Enjoy!
Parts List
- A Stainless Steel Trough Base
- B Stainless Steel Bolt On Top Pan
- C Stainless Steel Left Rounded Endcap
- D Side Shaft
- E Left (End Cap) Shaft
- F Center Shaft
- G Right (PTO) Shaft
- H Bearings
- I Bearing Flanges
- J Web Sprockets
- K #40 Sprockets
- L Bolts
- M Carriage Bolts